Music Career Finder
Start Here:
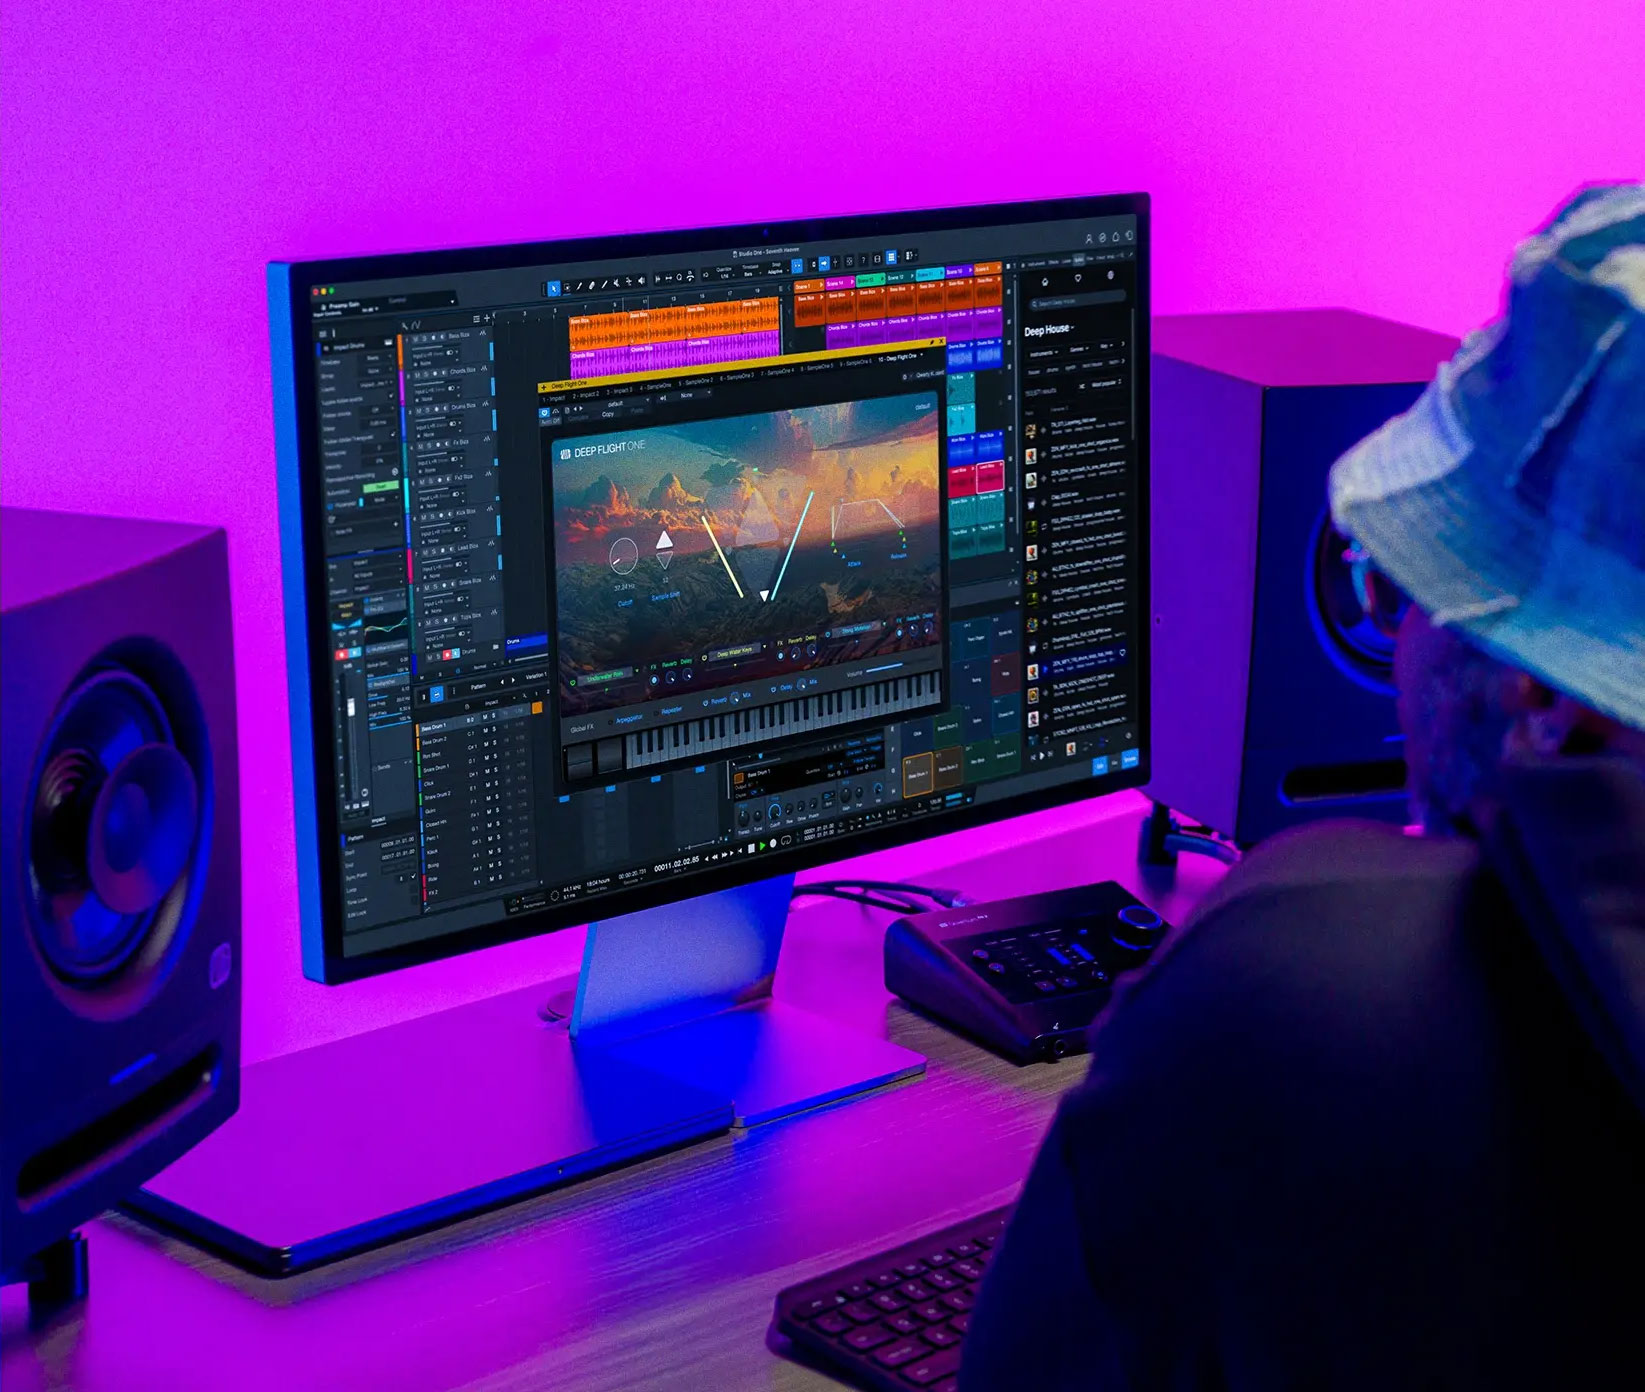
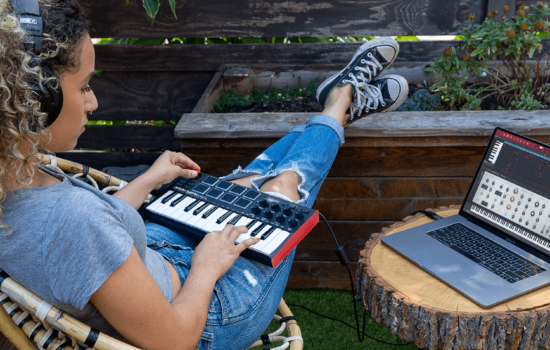
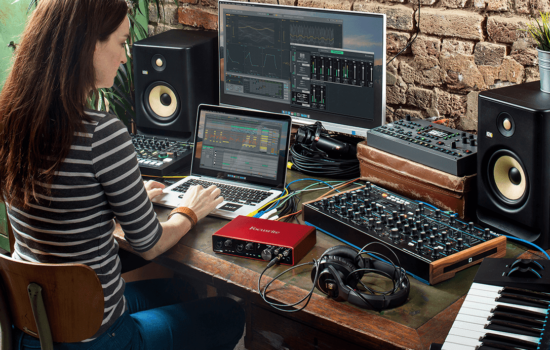
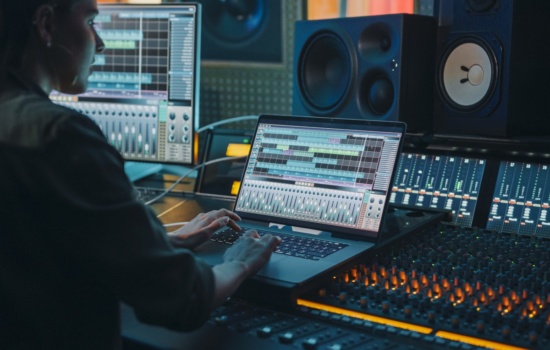
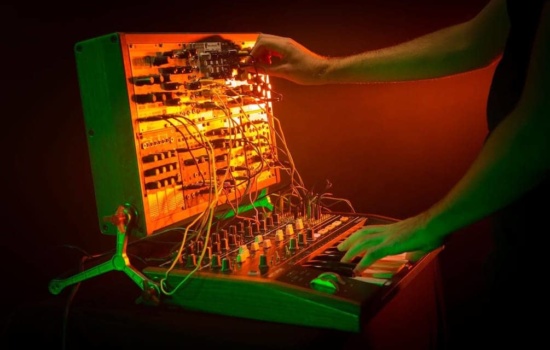
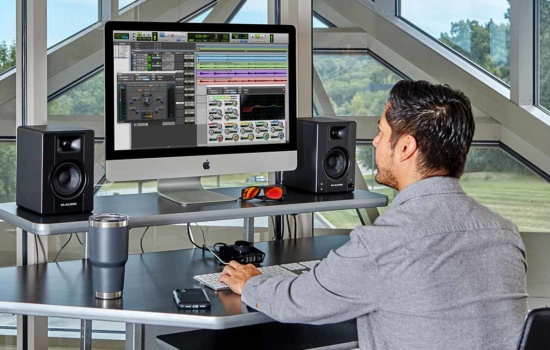
Gear & Software
Looking for some valuable insight into today's newest music gear and software? Our team of experts share decades of diving deep into the gear we all use and love (and hate) to bring you the reviews you need to make informed decisions.
Site Search


Most Popular
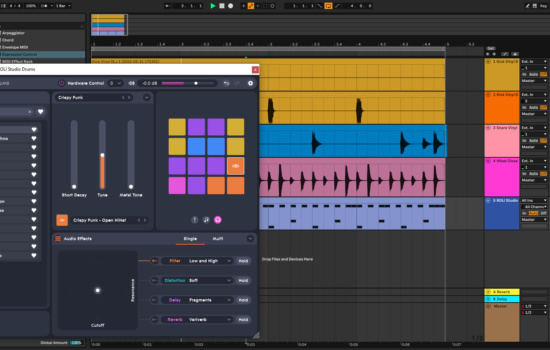
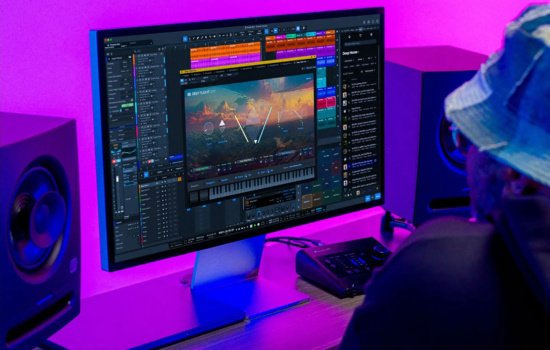
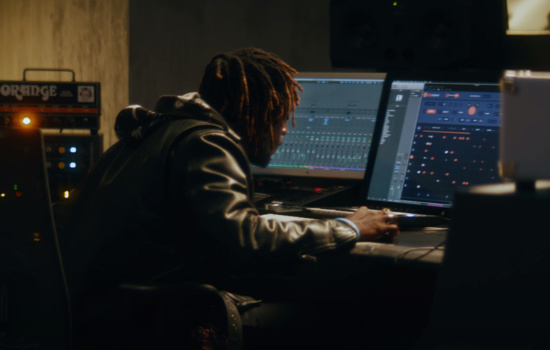
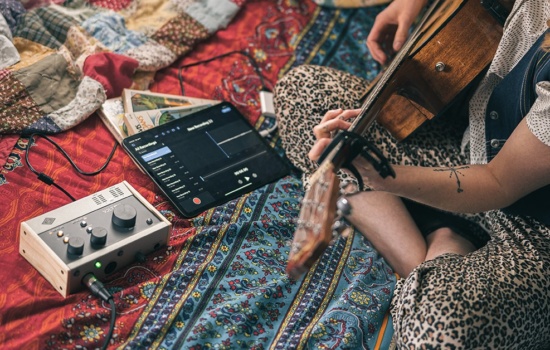
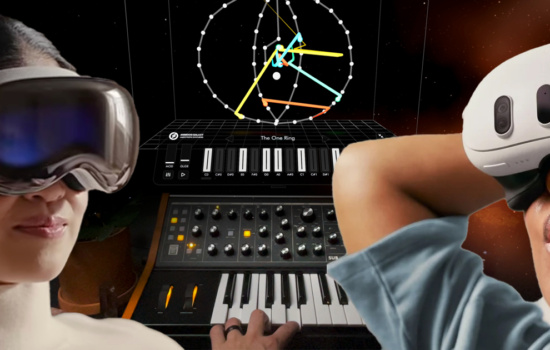
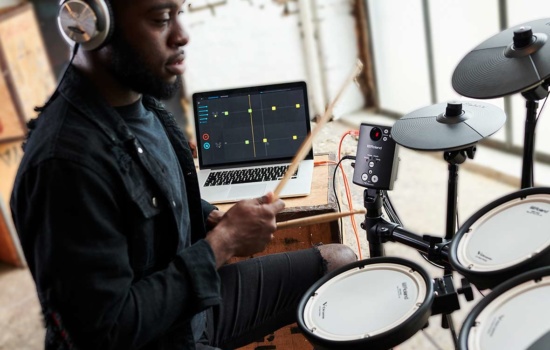
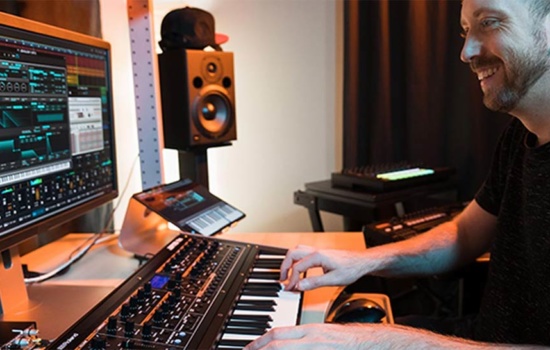
Find your perfect creative partner with our picks for 2025's best music production software.
March 17, 2025
@ Robin Vincent


Show More