Music Career Finder

Start Here:

1. 1. Pick one. *This question is required.
2. 2. What are you most interested in? Select as many as you like.  *This question is required.
Female DJ using mixer during live DJ set

DJ

Asian female singer in studio with mic

Singer

Music Director with headphones around her neck in the on-air studio at the radio station

Music Director

Closeup on an Orchestrator's hand writing notes on sheet music

Orchestrator

Young Black male Drummer playing the drums

Drummer

Young female Audio Engineer with soundboard in recording studio

Audio Engineer

Young female Pianist at piano

Pianist

Young black male Music Producer in recording studio

Music Producer

Mastering engineer using mixing console in recording studio

Mastering Engineer

Record Producers working in a music studio

Record Producer

Female Guitarist in recording studio

Guitarist

Songwriter with acoustic guitar writing lyrics in notebook

Songwriter

Lyricist listening to music and writing ideas in her notebook

Lyricist

Ceiling of opera theatre with crowd taking their seats

Opera Singer

Personal Manager in the recording studio with the band he manages

Personal Manager

Young female Bassist with her band

Bassist

Music Teacher showing bass to young male music student

Music Teacher

Concertmaster playing his violin

Concertmaster

Close up on a Composer's hands playing the piano

Composer

Director of A&R wearing headphones

Director of A&R

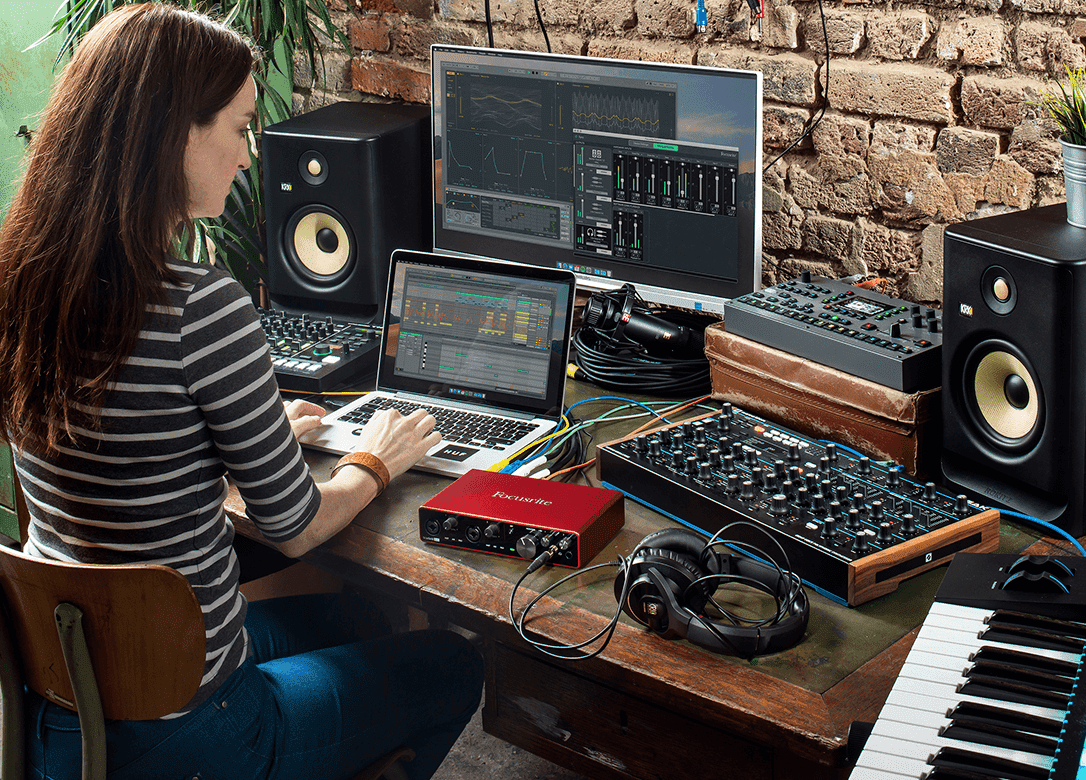
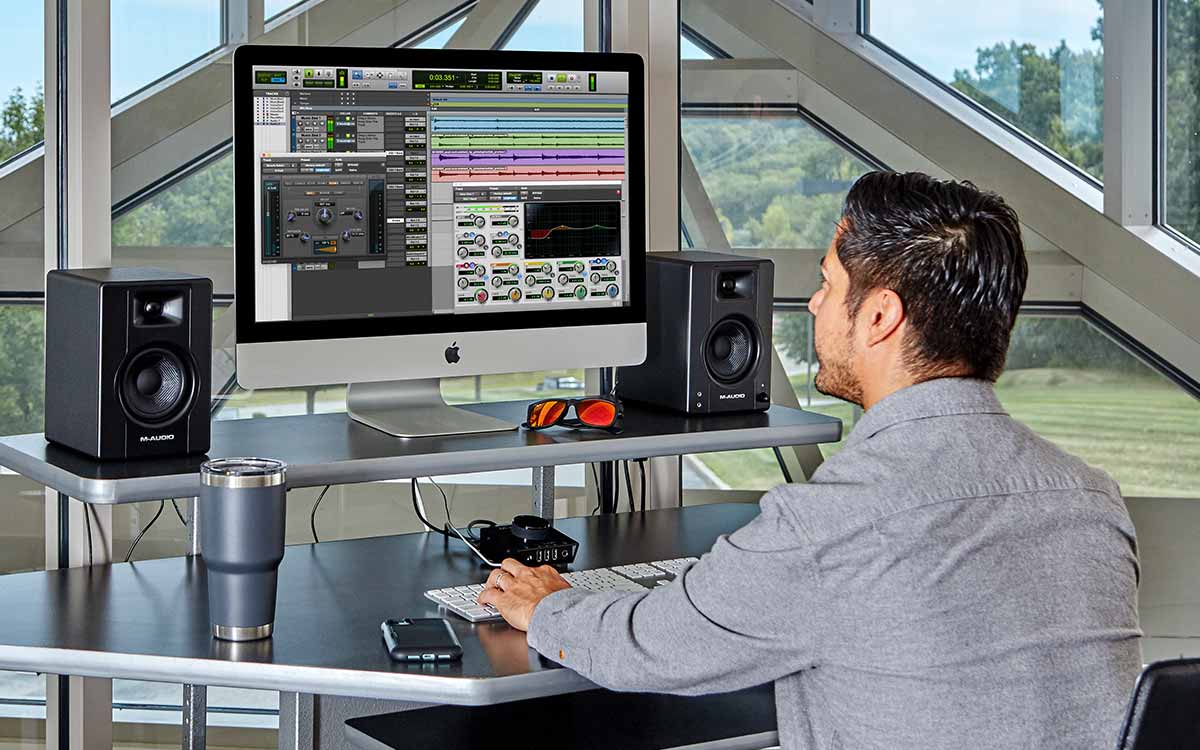
Ever since you could fit an entire recording studio in your laptop, home studios have become a de facto choice for music producers around the world.

With a good DAW, a quality microphone, and a pair of monitors you can create a fairly good mix without ever stepping foot inside a professional studio.

But the weakest link in most home studios are the acoustics. When your room affects your sound too heavily, it becomes nearly impossible to get a good recording or to make a mix that works anywhere else. If the room’s bass is too heavy, you’ll overcompensate — and then when you listen back over headphones, your track has no bass.

Almost all home studios are plagued by problems stemming from the very room they are located in. These issues include flutter echo, standing waves, and early reflections – problems that manifest as ringing sounds, muddiness in the midrange, and wildly uneven bass response throughout your room. It’s a surefire way to cause hours of music production frustration.

Luckily, even if your room is shaped like a cube, you can take care of most problems without much effort. Acoustic material can reduce all of the above problems with your setup. You’ll always have some problems, no matter what you do — but that goes for professional recording studios, too.

How to Fix Your Studio Acoustics

There are two primary types of acoustic treatment: diffusers and absorbers. Diffusors are intended to reflect waves at a wide angle, stopping standing waves without overly deadening the room. Absorbers reduce the power of sound waves — they’re especially useful for wild bass frequencies.

This article will tell you everything you need to know about these two types of treatment so you can get your home space sounding closer to a professional studio.

Diffusers

Diffusers help treat standing waves, one of the most serious problems home studios run into. Standing waves are reflections between parallel walls that can make certain frequencies louder or quieter. This happens as the waves reflect directly over themselves.

Depending on how they line up, the waves can get much louder (like duplicating a track in your DAW), or they can cancel each other out.These waves are the main reason for uneven frequency response (especially in the bass) in your studio.

A diffuser supplies either a curved or uneven reflective surface to break up parallel walls. They’re great for targeting the mix position, making sure standing waves and comb filtering are reduced as much as possible where you are monitoring. They can also reduce flutter echo and ringing to an extent.

The biggest advantage of diffusers is that they preserve the natural reverb of a room, even while treating acoustic problems. This is a great advantage when you treat a space where you’re recording instruments that rely heavily on the sound of the room, like pianos or drums.

But this can also be a disadvantage. If you’re recording vocals, for example, you’ll likely prefer a dead space to one that still has plenty of natural reverb.

Hey, what do you think about trying our new Music Career HelperMusic Career Helper really quick? It’s totally free and could help get your career moving fast! Give it a try. It’s totally free and you have nothing to lose.

How It Works

Sound waves follow the law of reflection just like light. The angle at which a ray of light hits a mirror is equal to the angle at which it reflects off of the mirror.

In your room, sound waves are bouncing off parallel walls according to the law of reflection. Many of these waves end up reflecting directly over themselves, creating pockets of greatly amplified volume at one frequency, and greatly reduced volume at another frequency, all over the room.

This can mess with your ability to record since your microphones are going to pick up on these waves. But it also interferes with your ability to mix. When you are monitoring, you’re not just hearing what’s coming from your speakers – you also react to what your room adds in and takes away.

A simple example of a diffusor is a curved, reflective surface, like a bent plank of plywood mounted to the wall. When a wave hits the surface, it will still follow the law of reflection — but the angle won’t be the same for any two points along the curve of the surface. So reflections exit at a widened angle about the room, rather than all reflecting off the same flat surface.

This simple type of diffusor will help with standing waves, but it won’t help with comb filtering. Comb filtering is a pattern of peaks and dips in frequency volume that makes your room sound boxy. Better, more expensive diffusers have uneven, reflective surfaces. These surfaces scatter waves unevenly around the room, which results in a much clearer room response.

Diffusors are best used sparingly, to disrupt parallel walls and scatter sound waves without unduly deadening a room intended for both recording and mixing. However, the real key to stopping standing waves and evening out a room’s frequency response are absorbers.

Absorbers

Absorbers and diffusers serve very different purposes.

Diffusors clear up muddiness and standing waves by changing the angle at which sound waves reflect. This has the added advantage of retaining the natural reverb of the room.

Absorbers focus on reducing the power of waves by forcing them to pass through dense materials. There is no change in the physical path of the wave; only the intensity changes. These acoustic materials are much better at handling flutter echo, comb filtering, and uneven bass response throughout the room. They are also helpful in managing standing waves, especially when used with diffusers.

Too much absorption, however, can quickly result in an eerily “dead” space, lacking most of the room’s natural reverb. This sound is fine for guitar cabinets and some vocal applications but sounds unnatural on instruments like piano and the drumset.

The Science

There are three main types of absorbers.

  • Bass traps effectively absorb high and midrange frequencies, and can be designed to work at frequencies below 125Hz.
  • Helmholtz resonators treat sub-100Hz frequencies but affect a very limited range of frequencies.
  • Membrane absorbers, or panel traps, also perform well at frequencies below 125Hz.

Typically, a home studio can ignore Helmholtz resonators, as they target specific frequencies and take up space more effectively used by a bass trap or panel trap. For that reason, I won’t explain the details of how Helmholtz resonators work, but this will take you to where you can learn more about their acoustic material.

In absorption, a wave passes through dense material. The acoustic energy changes into heat, and this transformation reduces the energy of the sound wave. Absorbers are normally put either in areas where reverb attenuation is needed or where sound pressure buildup is greatest.

Because corners allow waves to bounce several times before exiting, they are typically the location where sound waves are most powerful and therefore are a perfect location for acoustic treatment. Open walls are often treated to reduce early reflections and flutter echo.

How Effective Is Your Treatment?

The effectiveness of an acoustic material at absorption is measured by its “absorption coefficient”. This is a number between 0 and 1. Zero means there is no absorption at all, and one means it absorbs all sound completely.

You can view this number as a sort of percentage. A material with an absorption coefficient of 0.35 absorbs about 35% of the sound. But an acoustic material cannot be rated simply by an overall absorption coefficient. You need to know how it absorbs sound waves at a selection of frequencies. After all, a material that absorbs 1kHz extremely well and sucks at any other frequency is a bad pick.

Bass traps

These typically target the frequencies around and above 250Hz. Bass traps are often mounted across a corner, forming a triangle of space behind the panel that maximizes the trap’s effectiveness. These traps work by absorbing the velocity of the wave and transforming it into heat.

Panel traps

Or, sometimes called membrane absorbers. These can be designed to absorb mid-bass frequencies, above 250Hz, or low bass frequencies under 250Hz. These have a wood panel covering the face of the trap, which both helps absorb lower frequencies and is reflective at higher frequencies – allowing you to install more bass traps without overly deadening the room’s natural reverb. These traps are air-tight, which stops sound waves from escaping through the air rather than being pushed through the fiberglass.

Typical Materials

Bass traps and panel traps both utilize rigid fiberglass. The most popular is Owens Corning 703, but many companies use either off-brand or self-created types of rigid fiberglass. These normally have the same acoustic properties as the 703 material.

Bass traps and panel traps should use rigid fiberglass. Acoustic foam, on the other hand, won’t work. Foam solutions offered by Auralex and other similar companies can’t match the acoustic qualities of rigid fiberglass. Check out the statistics, courtesy of Ethan Winer:

Material 125Hz 250Hz 500Hz 1000Hz 2000Hz 4000Hz
Owens Corning 703 0.17 0.86 1.14 1.07 1.02 0.98
Owens Corning 705 0.60 0.50 0.63 0.82 0.45 0.34
Acoustic Foam 0.11 0.30 0.91 1.05 0.99 1.00

You’re Now An Expert

You now know everything you need to fix the acoustics in your studio space! The next step is actually to purchase or build your own fiberglass panels.

ATS Acoustics is where I generally purchase acoustic treatment; their products are great and prices are fair. You can also use their tools to decide how many acoustic panels you need, and they’ll come with all the mounting gear you need.

Good luck!

Note: We are not affiliated with and don’t profit from this recommendation. It’s just a company I’ve had great experiences with in the past.
Site Search