Music Career Finder

Start Here:

1. 1. Are you a Musician/Performer or are you just looking for a career in the Music Business? *This question is required.
2. 2. What are you most interested in? Select as many as you like. *This question is required.
Virtual Reality
3.6.2024

Best VR Music Making Apps for Apple Vision Pro and Meta Quest

Flute player, violinist, and cellist performing in orchestra with conductor
3.5.2024

The Best Orchestral VSTs: Put a Symphony on Your Laptop!

Beat maker machine with person playing
3.5.2024

Beat Maker Machines: The Best Drum Machines and Grooveboxes

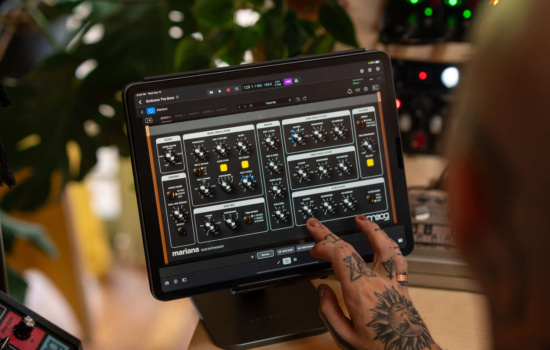
Moog Animoog Z
3.4.2024

Best Music Apps for iPhone & iPad 2024: The Must-Have Guide

Man using Zenbeats music production software in home studio
3.4.2024

Best Music Production Software 2024: DAWs & Plug-ins to Get You Started

Audio Engineer behind control desk in recording studio
2.5.2024

Best Guitar VSTs (2024): The Essential Tones

Musician using free synth VST
2.5.2024

Best Free Synth VSTs for Your Home Studio in 2024

Making Beats
2.1.2024

Beat Maker – The Software You Need to Master Your Beats 2024

Music Recording Software
1.24.2024

Music Recording Software: What Program Should I Use?

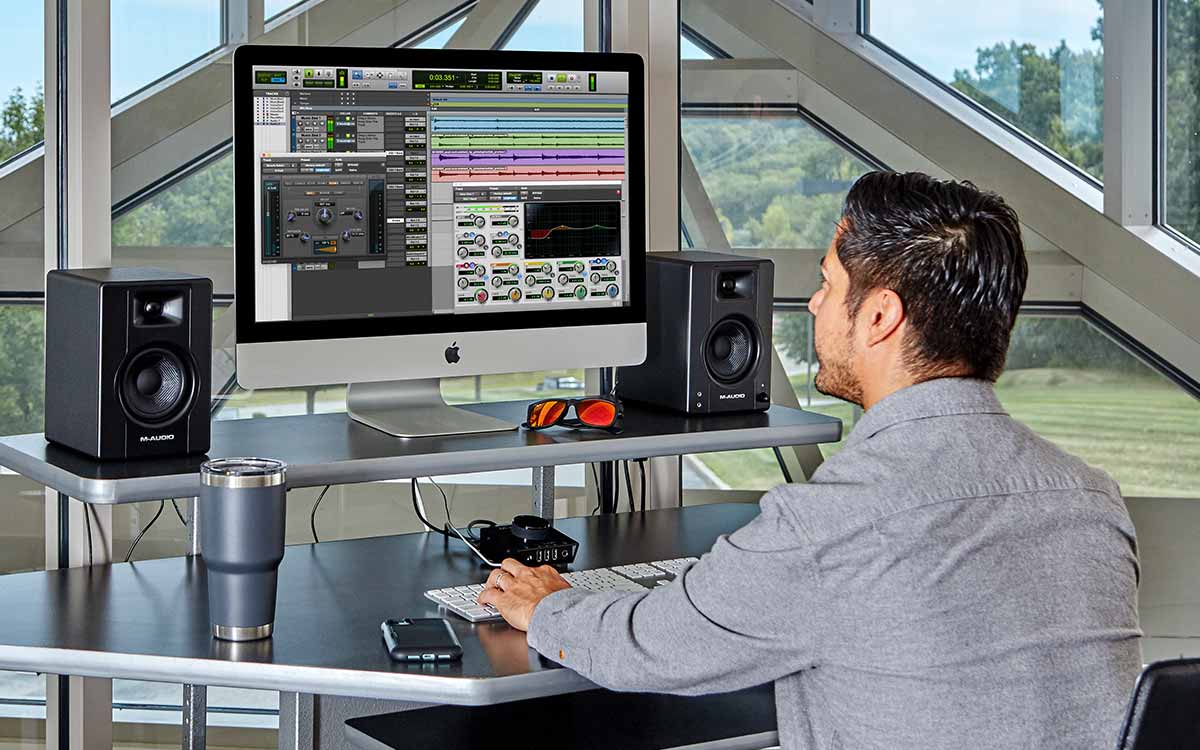
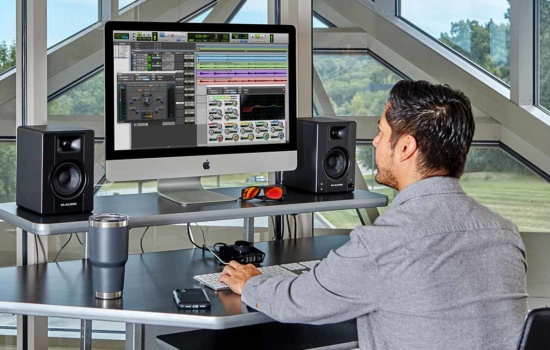
Male producer using M-Audio studio monitors in home studio
1.5.2024

Best Studio Monitors (2024) for Home Recording on Any Budget

Roland's TD-01DMK
1.5.2024

Best Electronic Drum Sets 2024: Pro Reviewed Buyer’s Guide

Cubase Pro 13
1.4.2024

Best DAWs: Music Production Software Studio Picks for 2024

Recording Engineer with Beyerdynamic headphones in studio
1.4.2024

Best Studio Headphones 2024 for Pro Studios & Music Production

A music producer sits in his studio.
1.4.2024

Best Music Production Software for 2024

UAD Volt audio interface
1.4.2024

Best Audio Interfaces for Home and Project Studio Music Recording in 2024

Young male producer listening to music on mixing headphones
1.3.2024

Best Mixing Headphones (2024) for DIY Home Producers

Digital Audio Workstation
12.16.2023

Digital Audio Workstation: Which DAW is Best for Beginners?

Gforce OBX
12.1.2023

2024‘s Best VST Instruments for Music Production

IK Multimedia Pianoverse
12.1.2023

Best Piano VSTs 2024: 8 Stunning Virtual Pianos

Female DJ with turntables and setup
11.28.2023

DJ Equipment for Beginners: What DJ Gear Do You Really Need?

Home studios are the way of the future. But a lot of them are not set up to make professional-sounding music.

Many of them are set up without much thought, without the knowledge about how sound travels in a room or how to do things in the most productive way. In this article, we’ll discuss the key items to ensure you have the most efficient home studio setup possible.

So to make sure you have the most efficient home studio setup possible, we’ll cover the following:

  1. Basic Home Studio Equipment
  2. Choosing the Room
  3. Positioning Your Workspace
  4. Setting Up the Monitors
  5. Treating the Space
  6. Putting It All Together

Basic Home Studio Equipment

Before we talk about the most efficient setup for your home studio, we have to talk about the recording equipment you’ll need. If your equipment is crappy or you don’t have the right stuff, it won’t matter how you set up your space — it’s not going to sound good.

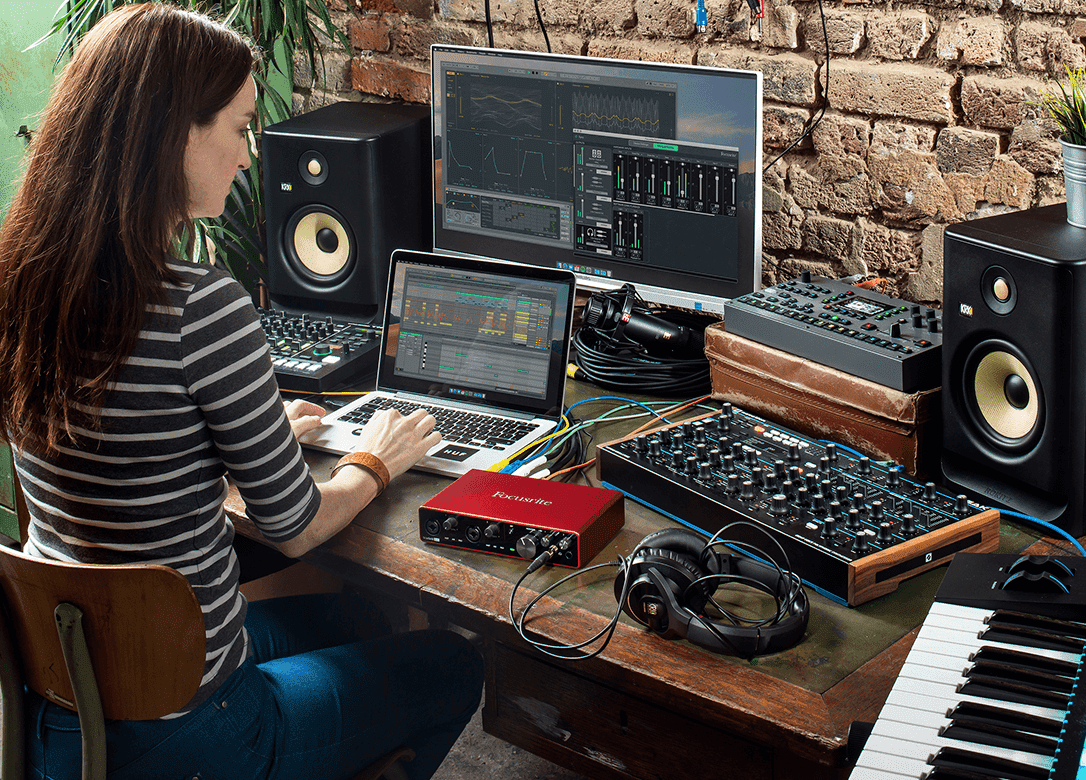
Assuming you already own a computer (laptop/desktop), here’s what you need to get started:

  • Audio interface
  • Microphone(s)
  • Microphone cable(s)
  • Microphone stand(s)
  • Pop filter
  • Headphones
  • Studio monitors

What do you need for a home studio setup?

Caleb J. Murphy (CareersInMusic)

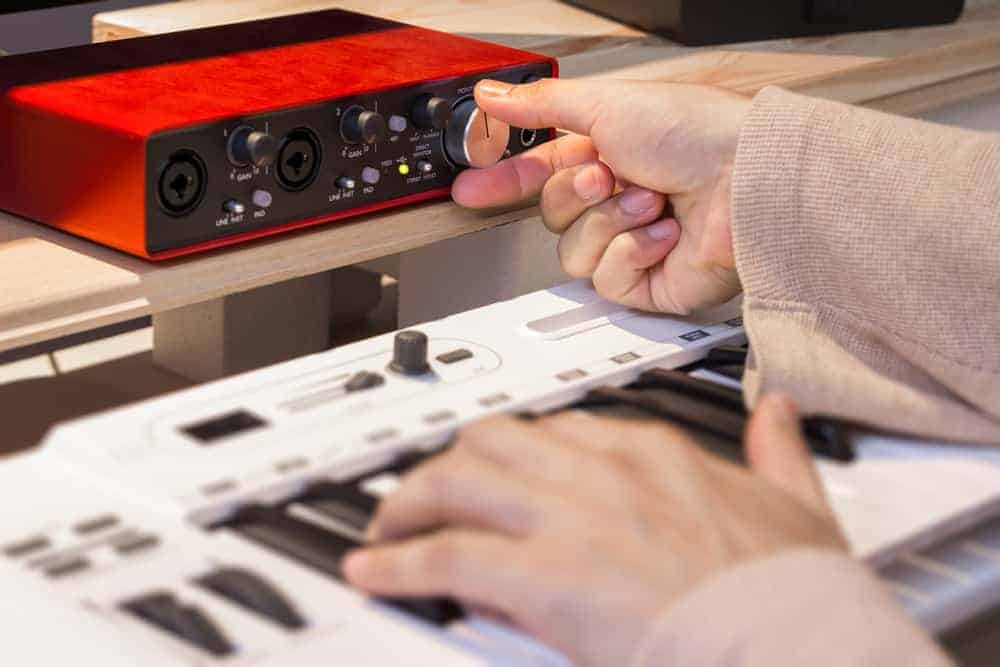
To make high-quality music, you don’t need much equipment. Obviously, the better equipment you have, the more potential you have to make pro-level music. But if you’re just starting out, I’d suggest starting with a computer, an audio interface, a digital audio workstation, a microphone, and a MIDI controller.

Audio Interface

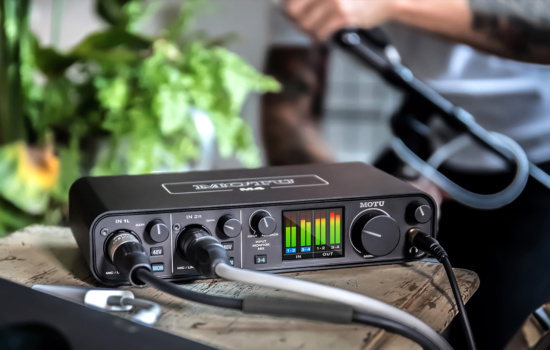
The most common type of audio interface is USB. This little device is where you plug in the mics and instruments, your monitors and mixing headphones, and then it connects to your computer.

Microphone(s)

The best type of microphone to start with is a cardioid large-diaphragm condenser mic. They record out of only one side, so they’re good for non-soundproofed home studios. And because of the large diaphragm, it sounds really good on vocals and acoustic guitar.

Microphone Cable(s)

Obviously, if you have a mic, you need a mic cable. When looking for the best cable, you don’t have to get the most expensive one, but you don’t want to get the cheapest one either. Go for the middle, price-wise.

Microphone Stand(s)

Again, it’s obvious that if you have a mic, you need something to mount it on. And like the mic cables, buy one that’s priced in the middle.

Pop Filter

A pop filter (aka a pop shield) is a small mesh screen that goes between your mouth and the mic. It keeps plosives (t, k, p, d, g, and b sounds) from hitting the mic and ending up in your recording.

Headphones

There are two types of studio headphones — closed-back and open-back. Closed-back headphones are best for recording with (for monitoring) or for mixing when you’re in public or somewhere loud. Open-back headphones are best for mixing in your studio.

It’s probably better to start with a pair of closed-back headphones because you can use them for monitoring and mixing.

Studio Monitors

When choosing studio monitors, you want a pair that have a flat response so you can hear the mix in its purest form. If you get monitors meant for listening, they EQ and balance the sound — they add flavor. But when you’re mixing and monitoring, you want it to sound un-EQ’d and unbalanced so you can EQ and balance it yourself.

When mixing, it’s good to switch between monitors and headphones, just to make sure everything sounds amazing.

Choosing the Room

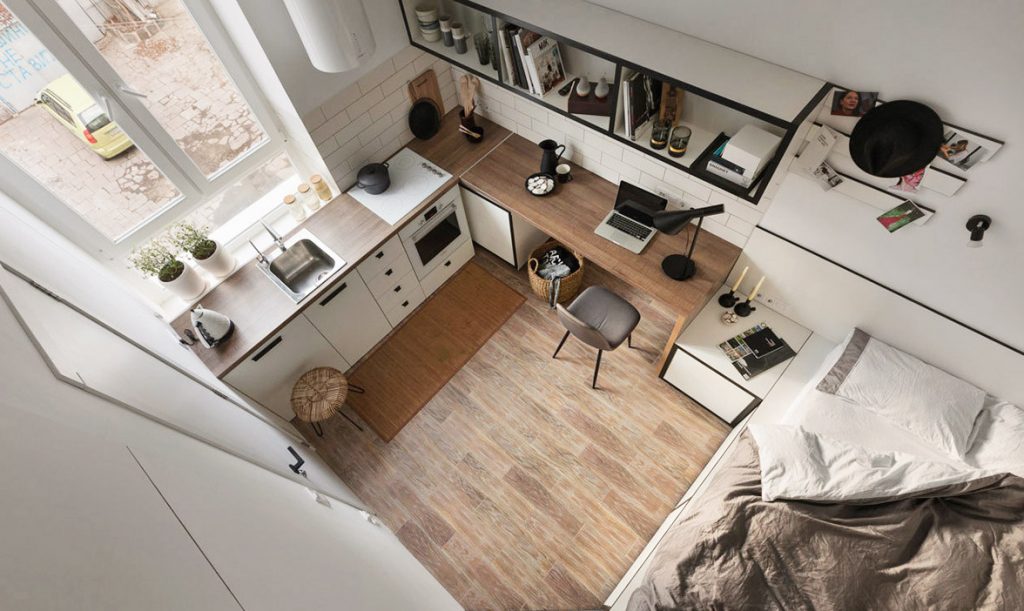
Now that you have all the right equipment, it’s time to choose the best room for your home studio setup. Usually, you’ll have 2-3 rooms to pick from. Or, if you’re like me, the only available space is a walk-in closet. And that’s fine too — you have to work with what you have.

But if you do have a choice, here are some things to consider:

  • Avoid small spaces: you’ll have less room for actually recording and storing instruments. Also, the sound is much better in bigger rooms — they offer fuller, richer reverb sounds.
  • Avoid perfectly square rooms: this leads to a huge buildup of standing waves. Standing waves are when two identical sound waves move in opposite directions, leading to them either combining their powers or canceling each other out.
  • Choose the quietest room: the less noise your mic picks up (like cars outside, birds chirping, loud neighbors, noisy plumbing in the house, foot traffic on the floor above), the better it will be for your recording.
  • Non-ideal flooring: the best type of flooring for your home music studio is wood. Carpeted rooms absorb higher frequencies only, which isn’t good for acoustics.
  • The higher the ceiling, the better: this allows for better acoustics and fuller reverb.
  • Avoid rooms with big windows: glass, like concrete flooring, is bad for acoustics.

One way to figure out which room has better acoustics and reverb reflection is to do the clapping test (do this after you’ve cleared out the room).

The clapping test is when you walk around a room — every foot of the room — clapping and listening to how it sounds. If you hear harsh, ringing tones hitting your ears, it’s not good (typical in small rooms). If you hear a full reverb sound, that’s good (typical in big rooms).

Your spaces will probably be somewhere in the middle — most home studios are. To get an idea of what good acoustics sound like, find a big room elsewhere in your house or in a friend’s house and do the clapping test.

How do I set up a simple home studio?

Caleb J. Murphy (CareersInMusic)

Once you’ve got your equipment and set up the acoustic treatment, place the monitors and desk on the short wall of the room, if possible. Make sure you surround your workspace with all the equipment you’ll need. You’ll want to be able to quickly jump to a new instrument or piece of gear and record your ideas.

Hey, what do you think about trying our new Music Career HelperMusic Career Helper really quick? It’s totally free and could help get your career moving fast! Give it a try. It’s totally free and you have nothing to lose.

Positioning Your Workspace

If you have the luxury of using two rooms for recording, make one the recording room and the other the control room. But, if you’re like most home studio producers, you won’t have that option.

Instead, you’ll likely have two ways to set up your workspace: for solo use or for use with two or more people.

Solo Workspace

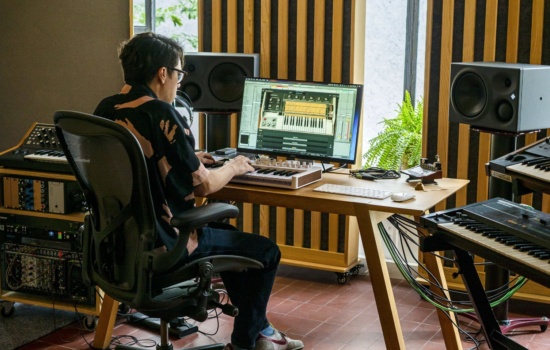
If it’s just going to be you using your home studio setup, you’ll want to set everything up around your desk and chair in a semi-circle that loops behind your chair. This allows you to easily reach every station from your chair, whether it be recording vocals, playing synths, or shredding on the electric guitar.

It can feel a bit claustrophobic to some people, but it’s the most efficient way to record on your own.

Workspace for Two or More People

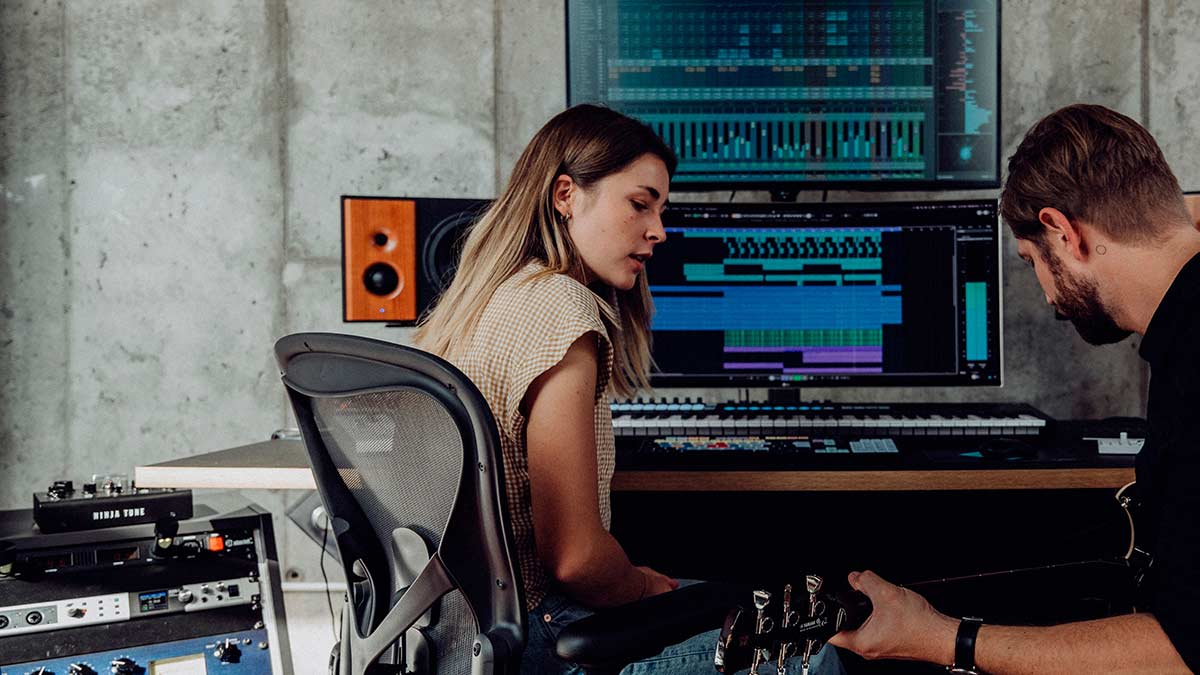
If you plan to record with another person, say if you plan to produce other artists out of your home studio, you’ll want to set up a certain way.

Try to divide the room into two halves: one for your station at the desk, the other for the musician or singer. The musician’s station is where the mic would be, so you’ll need a chair, room for any pedals or effects boxes they plan to use, and a pair of monitoring headphones that reach from the audio interface.

Setting Up the Monitors

The next step is to set up your studio monitors. You’ll want to plan this out before treating the room (more on treatment below). Once you have your workspace layout figured out, you can then position the monitors.

Here are some general tips for how to set up monitors:

  • Keep them away from the wall: the bass ports in the back won’t work properly if they’re right up against the wall. The monitors’ owner’s manual should list the minimum recommended distance from the wall — stick with that distance and just turn the bass down a bit.
  • Distance from the back and side walls should be unequal: the distance from the monitors to the back wall should be different than the distance to the side walls. If not, it could lead to a buildup of standing waves.
  • Place the monitors on the short wall of the room: if you have a rectangular room, your desk and speakers should be up against the short wall. This way, the sound waves travel along the long wall and lead to less impactful first reflections.
  • Stay away from the halfway marks: your listening position should not be halfway between both walls or from floor to ceiling. This will lead to hearing much less bass.
  • Create a triangle with your head and the monitors: point the speakers at your ears, making a triangle with your head and the two monitors. That’ll be the sweet spot.

Treating the Space

Now that you’ve chosen the room, set up your workspace, and properly positioned your monitors, it’s time for treatment. Although you may want to just start hanging up blankets or foam panels, there’s a certain way to approach it for the best treatment possible.

Bass Traps and Acoustic Panels

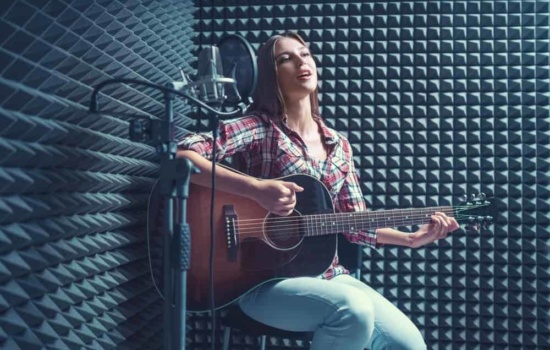
Absorption sucks up extra frequencies so there’s not a bunch of harsh sounds bouncing around the room. The two main types of absorption are bass traps and acoustic foam panels. These absorb reflected frequencies, leaving only the direct sound (the sound that goes directly from the voice or instrument into the mic).

Bass traps go in the top corners of your room (where the ceiling meets two walls) and they’re the more important type of absorption. The top corners cause the most sound reflection in a room because there are more surfaces right near each other for sound waves to bounce off of. Bass traps absorb mainly bass frequencies, but they also do a good job of trapping mid-high frequencies.

After the corners are treated, the next most important places to treat are the long corners — where a wall meets the ceiling, the floor, or another wall. Here you can use acoustic panels, but leave a bit of space in between the panel and the corner — about enough room for your finger to fit into. This allows for good bass frequencies to not get totally muddled.

And lastly, you should place acoustic panels on the walls themselves. People usually put them in diamond or square shapes.

You can also use some diffusion, but only if you have a bigger room. Diffusion diffuses the sound, spreading it around evenly. If you have a big room, try hanging a diffuser at eye height or above. It should help things sound more balanced.

For a more in-depth look at treating your home studio, check out:
The Home Studio Guide to Affordable Soundproofing and Acoustic Treatment.

Putting It All Together

Once you have the basic equipment for a typical home studio setup, you can start setting up. You’ll then need to choose the right room by using the clapping test and planning out what your workspace will look like.

If you set up your monitors properly and treat the room the best you can, you should be on your way to making better mixes at home.

How much does it cost to build a home studio?

Caleb J. Murphy (CareersInMusic)

It depends on how involved you want it to be. You can do basic treatment using things like acoustic foam and even pillows, blankets, and bookshelves, all for relatively cheap. But if you want to go all out and treat your entire room to professional standards, it can cost hundreds or even thousands of dollars.

Site Search
We use cookies to understand how you use our site and to improve your experience. This includes personalizing content and advertising. By continuing to use our site, you accept our use of cookies, revised Privacy Policy and Terms of Use.