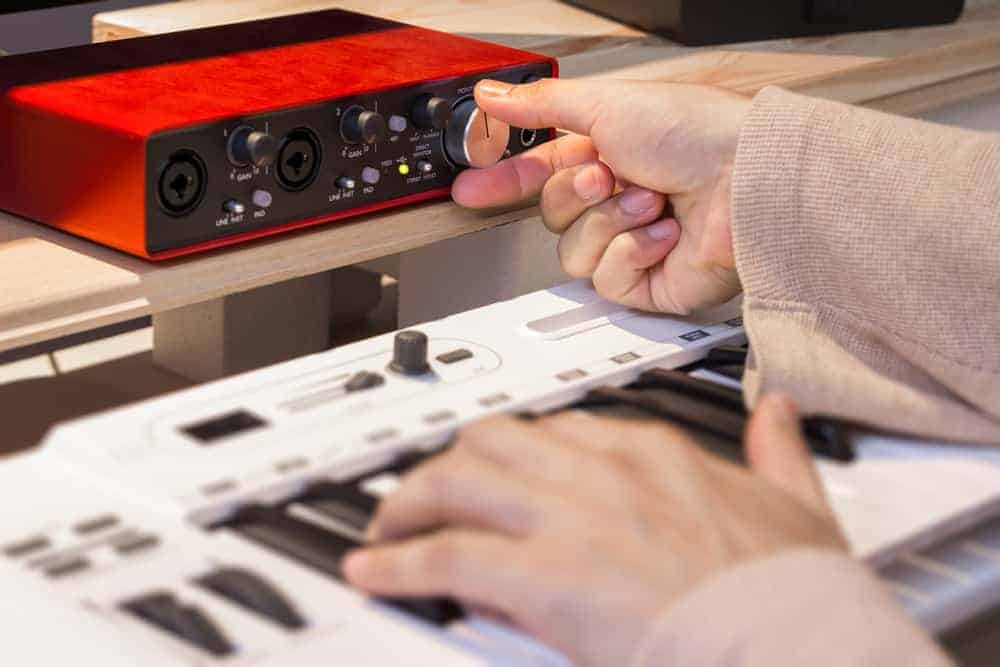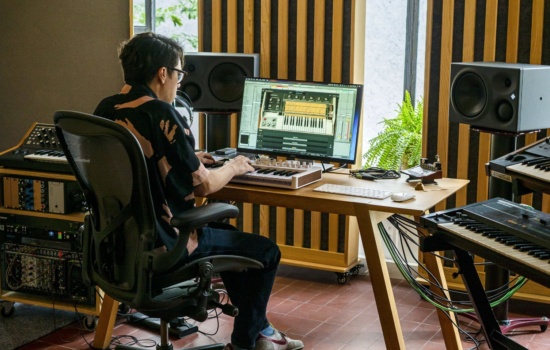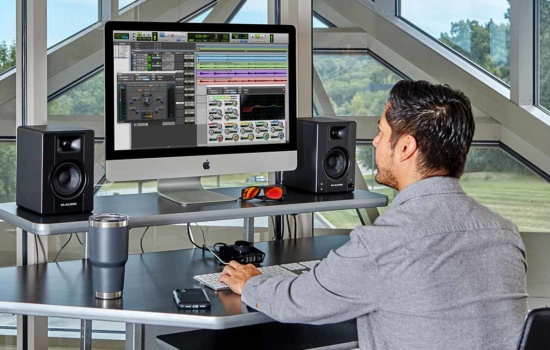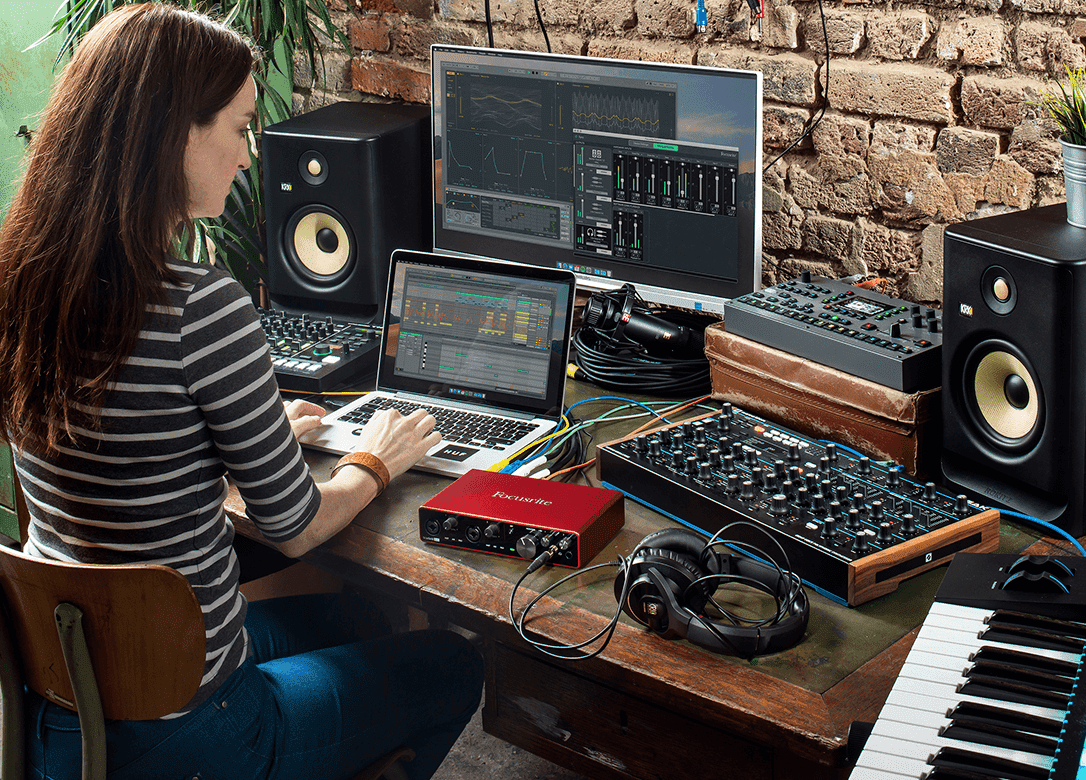

Once you’ve evolved past a self-contained laptop studio, you will need to have someplace more permanent to place your gear. You need to think about what sort of gear you’re going to be using, how many power sockets you will use, and how everything will get plugged in. If you were to get everything on this list, would you have the space for it?
You’ll need to consider how much noise you’re going to make and how insulated you are from the everyday sounds around you. Having a window is great in terms of creating a nice space to be in and enjoy some natural light, but also consider the noise implications and whether sunlight will reflect off your computer screen. If you’re in an enclosed space, will you have room to breathe, swing a guitar, or stand up to sing? Is it a space in which you will be left undisturbed for long lengths of time? Is it a space that you can walk into and start making music, or do you need to climb over things, set things up, or move things around?
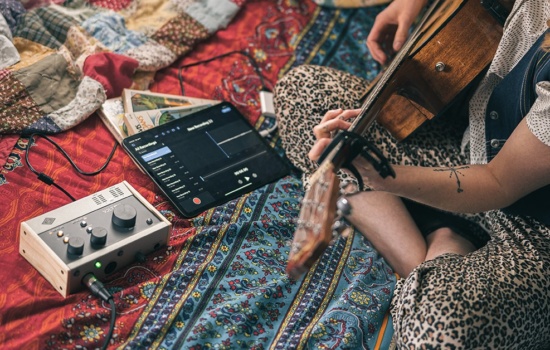
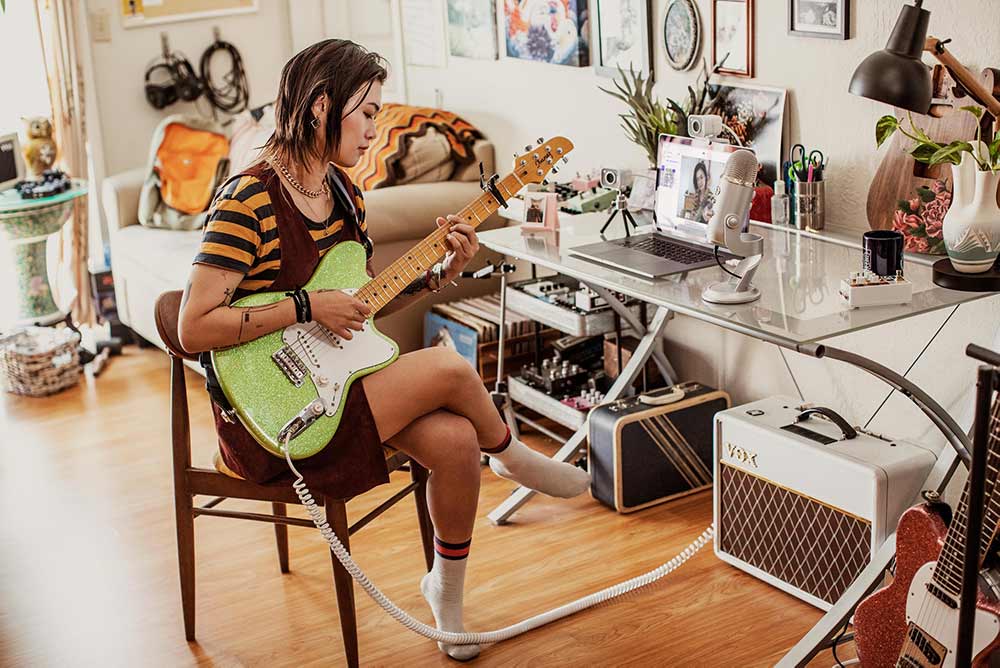
So, ideally, you’re looking for somewhere that gives you a bit of isolation, space to leave your studio setup and curtains to block out the sun and reflections if it has windows. It doesn’t have to be a completely separate room. You can find the ideal space in a corner of your bedroom.
Ultimately, you have to make the best use of what you have and a way you maximise that in a less than idea space is to get a sturdy table and a decent chair. If you spend a lot of time in that chair, get one that supports your back properly and lets you easily change position. The time you spend will be comparable to gamers working on their best scores, and there are a lot of great chairs out there for gamers – go and check those out.
Lastly, for the space, you might want to consider some acoustic treatment. This might seem complicated, but the general idea is that smooth, shiny surfaces are bad. Sound likes to reflect and bounce around, making recordings sound weird or making it difficult to hear the music when monitoring on speakers. Use some acoustic tiles or any soft, textured material to cover large walls, ceilings or other surfaces. You’ll be surprised how much difference it can make and it has the added bonus of adding a bit of soundproofing so that you are less annoying to your neighbours.