Music Career Finder

Start Here:

1. 1. Pick one. *This question is required.
2. 2. What are you most interested in? Select as many as you like.  *This question is required.
Female DJ using mixer during live DJ set

DJ

Asian female singer in studio with mic

Singer

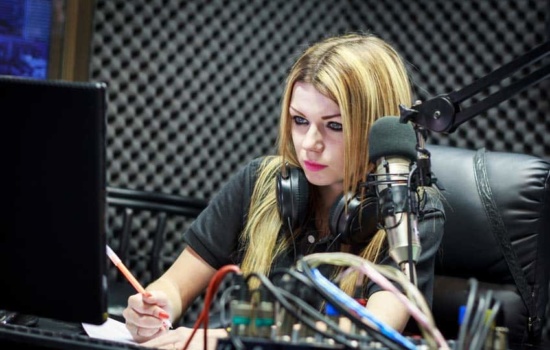
Music Director with headphones around her neck in the on-air studio at the radio station

Music Director

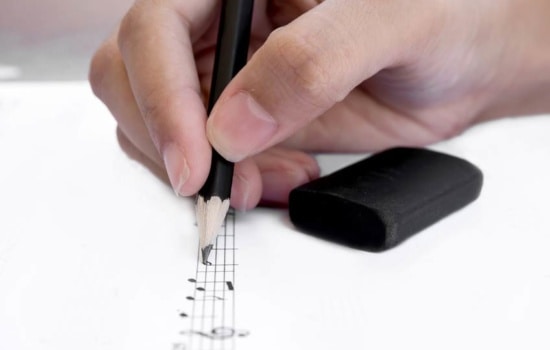
Closeup on an Orchestrator's hand writing notes on sheet music

Orchestrator

Young Black male Drummer playing the drums

Drummer

Young female Audio Engineer with soundboard in recording studio

Audio Engineer

Young female Pianist at piano

Pianist

Young black male Music Producer in recording studio

Music Producer

Mastering engineer using mixing console in recording studio

Mastering Engineer

Record Producers working in a music studio

Record Producer

Female Guitarist in recording studio

Guitarist

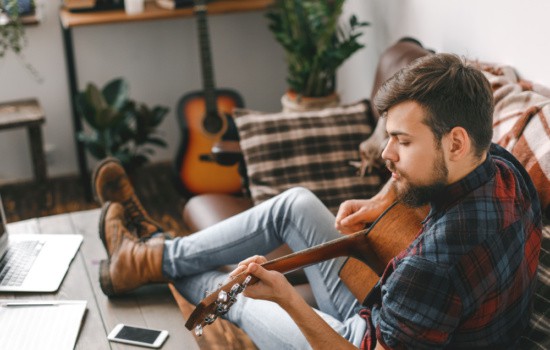
Songwriter with acoustic guitar writing lyrics in notebook

Songwriter

Lyricist listening to music and writing ideas in her notebook

Lyricist

Ceiling of opera theatre with crowd taking their seats

Opera Singer

Personal Manager in the recording studio with the band he manages

Personal Manager

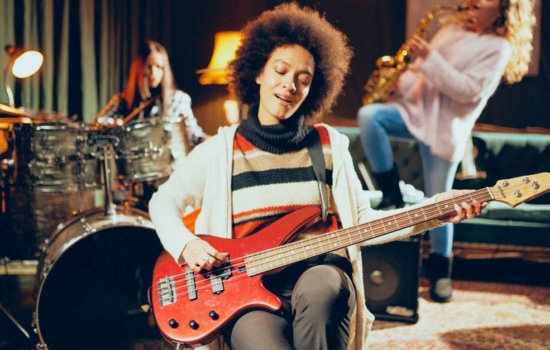
Young female Bassist with her band

Bassist

Music Teacher showing bass to young male music student

Music Teacher

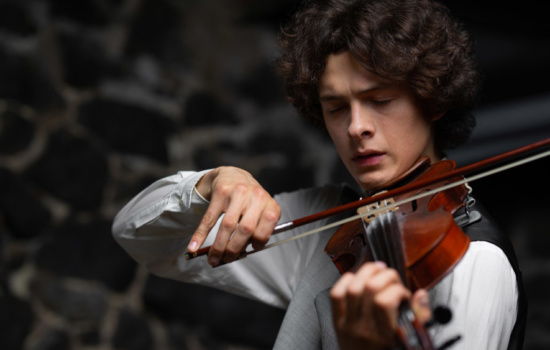
Concertmaster playing his violin

Concertmaster

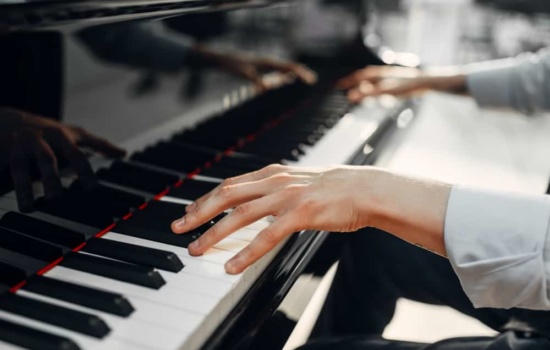
Close up on a Composer's hands playing the piano

Composer

Director of A&R wearing headphones

Director of A&R

You may think you need the most expensive equipment or fanciest studio or that you need to drop a ton of money on nice plug-ins.

Stop. Don’t believe the lies.

You can produce good music when you don’t have a ton of money. And here’s how.

Learn how to produce music by:

  • Choosing a computer for music production
  • Getting the right DAW for you
  • Finding an audio interface
  • Getting your microphone setup right
  • Finding the right headphones or monitors
  • Setting up your home recording studio
  • Finding free plug-ins
  • Discovering affordable services to check out

Getting Recording Equipment

The first step in how to produce music on a tight budget is getting the right recording equipment. It’s obvious when you think about it.

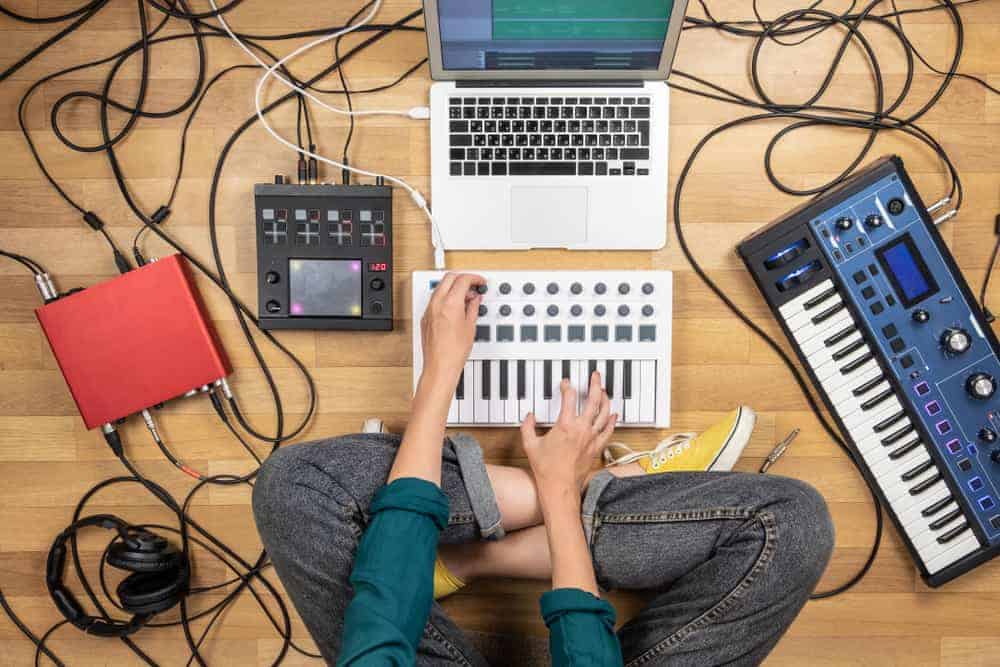
So, if we’re talking just the basic equipment needed to record music, here’s what you’ll need:

  • A computer
  • A digital audio workstation (DAW)
  • An audio interface
  • A microphone, XLR mic cable, mic stand, and a pop filter
  • Headphones or monitors

And that’s about all you need to start. All of this equipment can cost under $500 (assuming you already own a computer).

Now let’s dive into each piece of equipment (and software) and talk about what to look for.

Computer

I’m going to assume you already have a computer. Even though more and more people use their smartphones and tablets for most things, most people still have a laptop or a desktop.

If, however, you don’t yet have a computer and you need something that’s more affordable than a $1,500 Apple computer, I’d suggest the Acer Aspire E 15. It’s roughly $600 and it can run pretty much any beginner’s recording software.

Hey, what do you think about trying our new Music Career HelperMusic Career Helper really quick? It’s totally free and could help get your career moving fast! Give it a try. It’s totally free and you have nothing to lose.

Digital Audio Workstation (DAW)

A digital audio workstation is the piece of software that you’ll use to record your music. And when it comes to picking a decent DAW, you don’t have to spend very much (if any) money.

If you have an Apple computer, you already have a DAW called GarageBand. It’s probably the best DAW for beginners — it’s super easy to use, it has built-in virtual instruments and pro-sounding effects.

If you have a Microsoft PC, you have some solid options. Reaper is a free DAW that does nearly everything the big guys can do (like Pro Tools or Logic). You get the full version for free, and then to buy a license, it works on the honor system. It’s $60 or $225, depending on how much your annual income is from music.

Audio Interface

Unless you buy a USB microphone, you’ll need an audio interface. This is the device that you plug your mic or instrument into, and then it plugs into your computer via USB, Thunderbolt, or Firewire.

Nowadays, interfaces come with built-in preamps, so you can get a really good sound from a $150 interface.

Here are a few audio interfaces under $200 that will do the trick:

  • Focusrite Scarlett 2i2
  • PreSonus AudioBox
  • Native Instruments Komplete Audio 6
  • Focusrite Scarlett Solo

Microphone (XLR Cable, Mic Stand, Pop Filter)

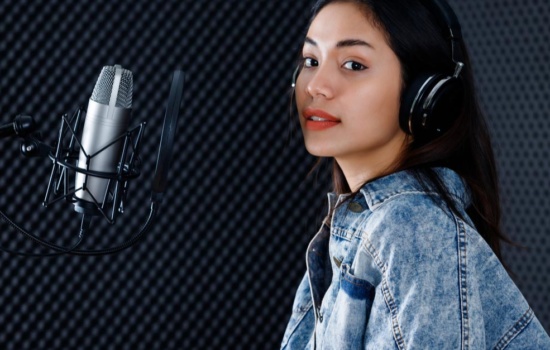
The next thing you’ll need is a microphone, assuming you’ll be recording live instruments, like acoustic guitar or vocals. And if you’ll be using a mic, you’ll also need a mic cable (i.e. an XLR cable), a mic stand, and a pop filter. A good microphone is really important to professional-sounding music. And fortunately, you can get yourself a mic that the pros use for about $100.

The Shure SM58 is the most famous go-to mic for onstage performances, but it also does a great job in the studio. If you’re on a tight budget and need a mic, this should be your first option.

But for the sake of fairness to the other great and affordable mics out there, here are some other suggestions:

  • Audio Technica AT2035
  • Audio Technica AT2020
  • MXL 990

Headphones or Monitors

And lastly, you’ll need to hear the beautiful music you’ll be making, so it’s time for some studio headphones or monitors.

With headphones, you have to decide whether or not you’ll be mixing the music yourself because it will change what type of headphones you get.

If you plan to pay a professional to mix and master your music, you can get any type of closed-back headphones. They do the best job of isolating the playback, meaning there will be less bleed into your recording. I use a pair of Sennheiser HD280PRO and they’re fantastic.

But if you want to do the mixing, you’ll need a pair of open-back headphones. Isolation is not good to have when mixing because the more isolation there is, the less quality you can hear in the audio. And open-back headphones do not isolate your ears to the audio. I’d recommend the Beyerdynamic DT990 Pro open-back headphones — they’re only about $130 online.

On the other hand, if you’re looking for high-quality yet cheaper monitors, I’d recommend either the Yamaha HS5 or the KRK Rokit 6 G3. If you’re mixing, it’s preferable that you mix on monitors as opposed to headphones.

Setting Up Your Home Recording Studio

Next, you’ll need to find a place in your home where you can record. You may only have one option, depending on the size of your house or apartment. But if you have a couple options, here are some things to consider.

If at all possible, try to avoid using a room or space that has these characteristics:

  • Small spaces
  • Noisy rooms
  • Carpeted floors — carpet absorbs higher frequencies, meaning the lower frequencies may seem to dominate your mix

Again, you may not have much choice in the matter, but there may be some things you can do to help treat your recording space. You may or may not have the budget to treat your home studio, but if you do, you can check out this article on how to get the best acoustics.

Here are some more general tips for setting up your studio:

Let your computer shine

Your computer is headquarters — make all other setups (keyboards, guitars, percussion instruments, vocal mic) easy to reach and use while still having access to your computer.

Place your desk

In a rectangular room, put your desk at one of the short walls with the monitors facing the opposite short wall.

Find the weakest link

Your weakest link can ruin your studio — whether it’s poor room acoustics, a bad quality mic, or if you aren’t sure how to use your equipment, the weakest link in the chain will lessen the quality of any music you produce with that chain.

Get a chair

Use a comfortable chair — one that you could sit in for hours.

How To Start Producing Music

Learning music production is just like picking up any new skill—it comes with a learning curve. However, once you grasp the fundamentals, everything becomes progressively easier.

If you’re considering making a career as a music producer, it’s definitely achievable, but it requires dedication and hard work. If you’re passionate about music production, that enthusiasm will be your driving force.

Here are some practical steps to kickstart your music production journey…

1. Set Your Time Signature and BPM

Before you hit record, set the beats per minute (BPM). This establishes the click track (or metronome), which helps you stay in time. Changing the BPM after recording can distort your audio, so set it first.

You’ll also need to select a time signature. The most common are:

  • 4/4: Four beats per measure, counting 1, 2, 3, 4 repeatedly.
  • 3/4: Three beats per measure, counting 1, 2, 3 repeatedly.

2. Remake a Song

A great way to learn music production and get your feet wet is to recreate your favorite songs. You don’t have to release them, this is just a helpful method of learning.

3. Start Recording

If this is your first time recording, it might feel daunting, but just hit record and go for it. Mistakes will happen, but technology allows you to re-record and edit.

If you struggle with recording to a click track, create or find a simple drum loop at your song’s BPM to play softly in your headphones while you record. You can mute it later, but it helps maintain your timing.

4. Re-Record

Feel free to record multiple takes; don’t worry if the first few aren’t perfect. DAWs let you keep previous takes, and you can compile the best parts (known as “comping”).

For example, Paul McCartney took 32 tries to get the right take for The Beatles’ “Blackbird.”

Be patient with yourself and don’t hesitate to re-record.

5. Try it all

Try every single idea you have, even if you think it sounds too crazy at first — you can always take it out later.

6. Edit Your Tracks

Once all parts are recorded, it’s time to edit. This process overlaps with mixing, but includes:

  • Selecting the best take for each instrument
  • Comping together the best sections of different takes
  • Tuning vocals
  • Adjusting volumes
  • Panning instruments

Editing can be time-consuming but is crucial.

7. Get feedback

Ask other musicians for feedback — getting a fresh pair of ears on your music is invaluable.

Free Plug-ins to Elevate Your Arrangements

One amazing fact of recording music in today’s music industry is that you can get pretty much any instrument or sound regardless of your budget or who you know. Thanks to audio plug-ins, you can instantly have an orchestra at your fingertips, or a classic 808 drum machine at your fingertips.

And the good news for us is that they’re often free (or super cheap). Check out our recent in-depth rundown of the year’s best free VSTs here.

Drum plug-ins

There are two drum plug-ins that can handle any type of music you want to make, and they’re both free.

The first is Drum PRO, which is perfect for more electronic music. It has 20 built-in drum kits that can handle hip-hop, pop, and EDM (you can even get a classic 808 sound). It gives you two types of hits for each part of the kit — two kicks, two snare hits, two hi-hats, and so on.

The other drum plug-in is Addictive Drums 2. This plug-in gives you a real drum sound, which Drum PRO does not. The reason AD 2 sounds real is because it is real — a real Drummer in a real studio-recorded real hits on the kit, which were then sampled and are now delivered to you, the home studio Producer.

You can get a free trial of AD2, which doesn’t have every part of the kit that would be there if you bought the full version. But you can purchase a kit (ex. Jazz, R&B, Rock, etc.) for just $20.

Keys plug-ins

Many home studio Producers can’t afford a keyboard, let alone a real live piano or an organ. So the next best option is to get a plug-in that emulates those sounds.

One of the best plug-ins in this category that I’ve come across is Addictive Keys (made by the same people as AD 2). It’s live piano sampled into MIDI form. It has a bunch of different piano sounds, all pre-mixed for you. Plus, you can get organ-like sounds too.

Another good keys plug-in is Dexed by Digital Suburban. It’s a free download and gives you plenty of preset sounds, usually with some sort of heavy delay, reverb, or another crazy effect. This plug-in is great if you love experimenting.

Strings plug-ins

DSK Music has made a couple of free orchestral plug-ins that are decent, especially considering they’re free.

One is called DSK Overture and the other is DSK Strings. In my experience, Strings sounds better and is easier to work with, but Overture is still very useful. Neither of these will have the same essence as recording a live orchestra, but for free plug-ins, they’re a pretty darn good alternative.

Affordable Services to Check Out

Mastering your music is the last step in the process of making your mix sound professional. And it’s a complicated process. One that takes a lot of education and training to get good at.

So, while you can hire a Mastering Engineer, you can also check out automated mastering services like LANDR or eMastered. They usually charge a reasonable monthly price ($15-25/mo) for an unlimited number of masters.

Yes, a Mastering Engineer could probably do better than an algorithm, but if your budget is limited, online mastering is a great alternative.

Site Search